Land Speed Record in Miniature
© www.lsrinmin.co.uk
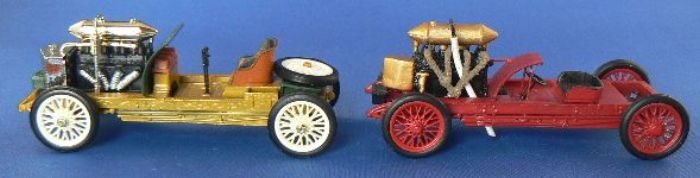
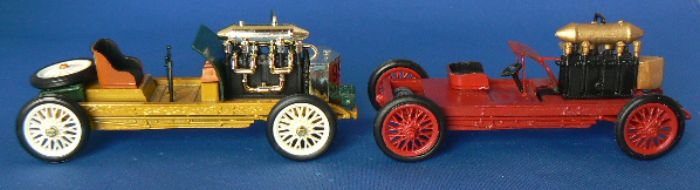
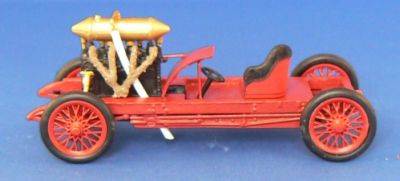
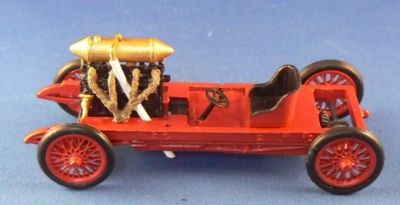
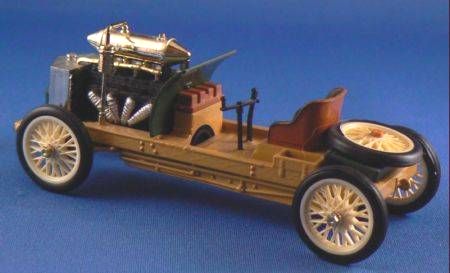
Converting the Brumm Ford Arrow 999
By Trev Bunting
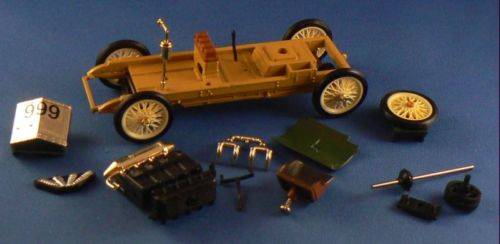
None of the parts were glued and came apart quite easily, when you remove the wheels be careful not to lose the brass hubs, underneath the car remove the black plate that holds the drive shaft in place, this will let you get to the screw that holds the seat, remove the screw securing the engine, if you have not removed the front wheels yet you will need to now as the radiator has a tab that goes between the axle and chassis
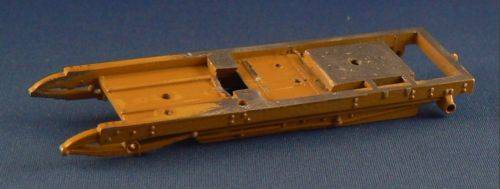
The piece at the front of the car between the suspension was removed with the cutter on an ordinary pair of pliers, an angle grinder was used to remove the seat base and the piece with the batteries on, finish with a file and 400 grit wet and dry paper.
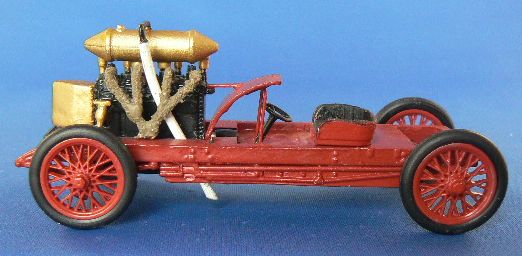
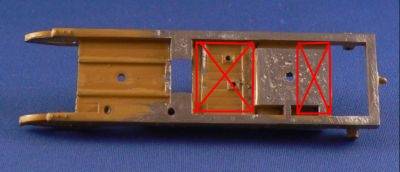
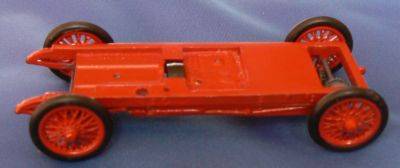
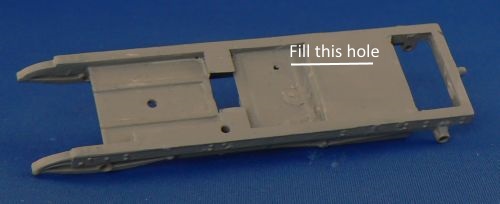
I decided it would be easier to make a chassis from scratch than remove the floor and rear section of the car. If you decide to build a new chassis, omit the the parts indicated in red as you will be making a new floor and the rear is about 8mm shorter, in fact it only has to be as wide as the seat, see the photo at the bottom of the page.
Fill the the gaps at the sides of the seat base, old steering tiller hole and the seat screw hole. It's now ready for some primer. The hole near the side of the chassis is where the fuel tank on the 999 was located, you can fill this or leave it as it will not be seen when the wind break is added.
Land Speed Record in Miniature
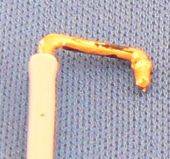
This piece from the top of the engine has had a piece of epoxy putty stuck on to it, when it is trimmed down it will become the drain tap at the bottom of the engine, it is not to scale but I cannot work on anything smaller these days.
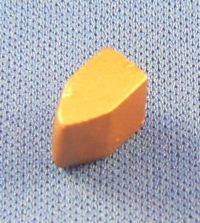
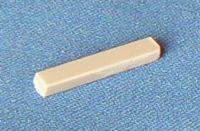
I shaped an oblong piece of epoxy putty approximately the size of the radiator then sanded it to the required shape, the final dimensions are 11mm front to rear, 11mm high and 7mm wide.
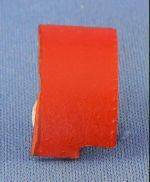
The cut down wind break (13mm). I forgot to check this with a magnifier and it was not until I saw the enlarged photo (5 times larger than shown) that I realised how rough it was, but it only took a moment to correct
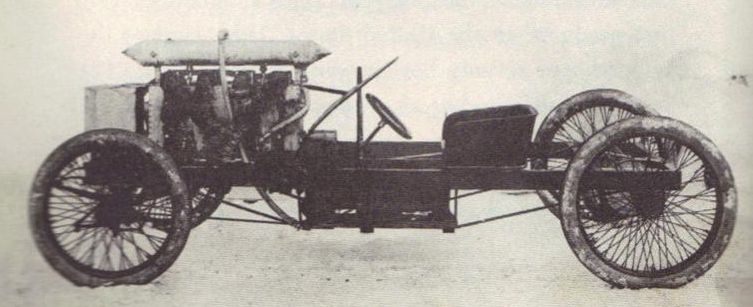
I have seven photo's of the radiator, none of them show it particularly well, so it's down to a bit of guess work and what looks right.
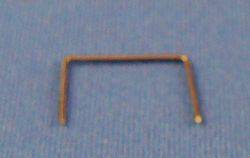
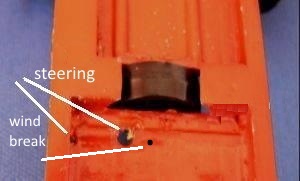
A piece of 0.8mm wire was used for the wind break support, you do not need to use this exact size, again it's what looked right. I drilled two holes for it to sit in and managed to break the drill bits in both holes and only got one out, so be careful. You can also drill the hole for the steering wheel, it is almost vertical so make your hole larger than the shaft, fix it in place with epoxy putty and position it before it sets
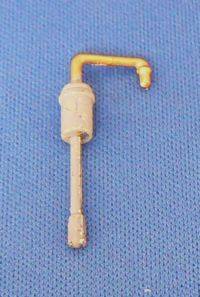
A couple of ways to do the next step. cut off the gray part of the vent pipe shown on the left, if you have some vinyl tube in the spares box push it onto the top part, or you can strip the outer covering off a piece of electrical wiring and use that or just strip the end and bend the copper. The top will be painted satin black and the tube matt or satin white
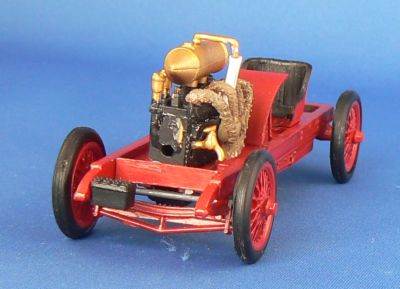
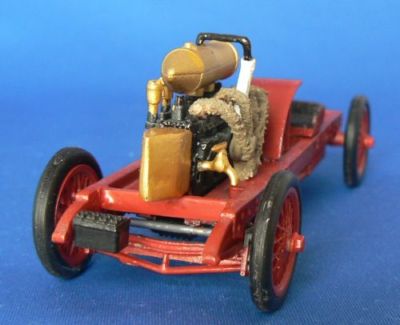
We are ready to start assembly, the chassis, wheels, wind break + support and seat back are painted satin red. The picture on the right shows the hole for the steering wheel (7mm from the outside of the chassis to the centre of the hole) and the holes for the for the wind break support
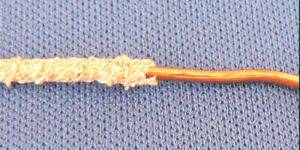
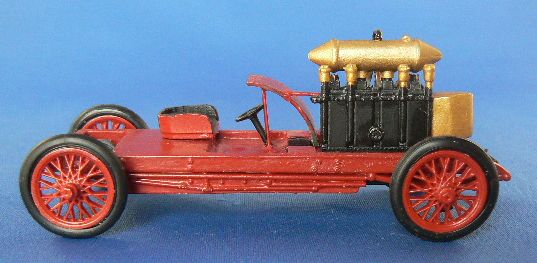
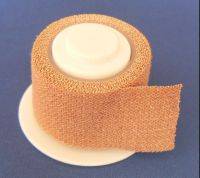
I tried several ways to lag the manifolds and found the easiest to be, place a six inch strip of sticking plaster onto a hard smooth surface, cut a strip about 3mm wide, rotate the copper wire between finger and thumb so that the plaster is wound around the wire.
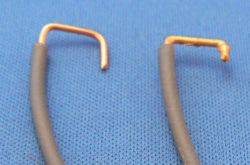
The wire is the earth from regular household wiring (UK) or if you have twin core strip the outer covering off.
The wire is the earth from regular household wiring (UK) or if you have twin core strip the outer covering off.
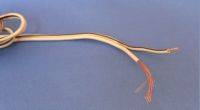
The method I used was to cut off the part shown gray above, strip off the outer covering from a piece of speaker wiring, push a round needle file into the end and twist it around to open it a little and push it onto the top piece that will be fixed back onto the fuel tank. Drill a 1.4mm hole in the centre of the fuel tank, remove the small collar where the vent was originaly attached and fill the hole.

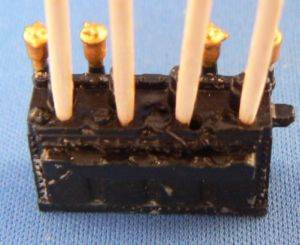
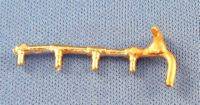
The copper wire used for the manifolds is about 1mm in diameter. There are holes in the top of the engine block, but you will have to drill some new ones and fill the old ones, I have placed toothpicks in the holes to give you an idea of the position of the new holes. Drill the holes slightly larger than the wire that way it will be easier to locate the manifolds.
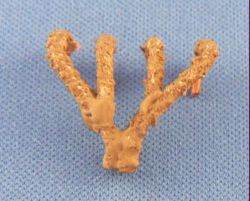
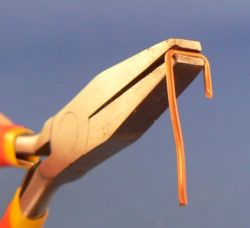
When you bend the wire for the manifolds the section shown in the pliers above should be at least 7mm.
Drill a hole in the engine block, I used a 1.8mm drill, and glue the drain tap in place
I drilled the steering wheel hole larger than the steering shaft, I then used 5 minute epoxy putty to fix it in place, this allows you time to move the steering wheel to the correct angle.
Before screwing the engine back in place, there is a small channel between the chassis and the base of the engine, drill a hole for the vent pipe so that it gives a slight curve to the pipe
Next fit the manifolds and seat I used epoxy glue for this as the manifolds can take several attempts to get into place so you do not want a fast setting glue, also the seat has a recessed base so a good dollop of glue in the centre is needed.
The seat is positioned flush with the edge of the floor.
Glue the wind break in place and attach a small piece of wire between the wind break and engine block.
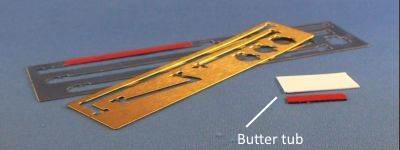
You will need to make a small part for the front of the car, it fits just above the front axle between the chassis, it is about 22mm x 4mm x 3mm. I used an old piece of sprue and just filed and sanded it, or you can use some thin scrap brass, steel or a piece of plastic from some food packaging will do, the piece in the photo on the right was cut from a butter tub
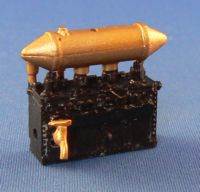
Attach the piece you made earlier to the front of the car above the axle. Cut the triangular piece off the battery, paint the battery satin black and glue it to the front of the suspension.

Do not forget to fill the old gear shift hole. ( I did )
I was going to leave the seat as it was but later decided to cut it down as you will see in images further down the page
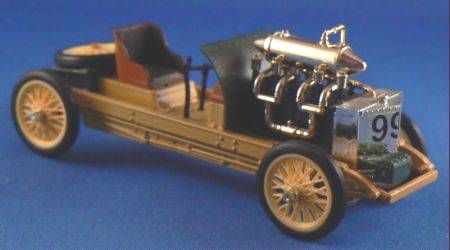
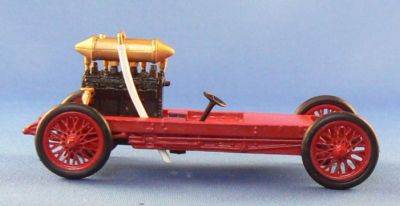
Finally attach the radiator tank